setup modem
Configuring a Modem
Once you have flashed your router to use the ROOter firmware and have finished configuring the router functions, it is time to configure it to use your USB modem.
Do not plug the modem into the router until this configuration is completed. If you are using a PCie or M.2 modem in the router's internal slot then you must reboot the router after the configuration in order for the modem to connect.
Log on to the ROOter web interface and select the Modem menu and Connection Profile submenu.
Rooter uses Profiles to hold the information connected with the modem and how it connects. This allows having different information for different modem and SIM combinations so, once they are set up, you can swap modems or SIMs and still have it connect automatically without changing anything.
If you are using only a single modem and SIM, or multiple modems with the same SIM, then you only need to address the Default Profile. If you use multiple SIMs or are using the Dual Modem feature then you must also use Custom Profile.
We will look at setting up the Default Profile first. This Profile will be used if there is not a Custom Profile to match the modem/SIM combination.
Default Profile
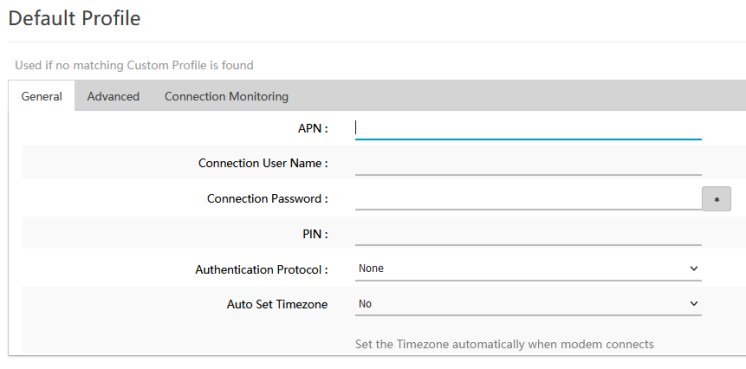
In most cases all that is needed is to fill in the APN which was provided by your ISP. This is required by ROOter as it is needed to make the connection to your ISP's network. If your ISP requires more information in order to connect they will provide that to you and it can be filled in on this tab as well.
If you wish your TimeZone to be set automatically when the modem connects to the Internet change the Auto Set Timezone to Yes. This will attempt to determine your timezone from your connection but it may not always be accurate if your Provider is using servers in a different area.
This is all the information that is needed to make a connection to your Provider's Network. Click on the Save & Apply button in the lower right corner and wait for the changes to be applied. You can now plug the modem into the router and it will automatically make a connection to your Provider's Network. If you are using an internal modem then you must reboot at this point.
If the modem is plugged into the router when you power it up, it will automatically connect to the Provider's Network as soon as the router has finished its boot process.
Any changes made to a Connection Profile will not be applied until the next time the modem attempts to connect, either by plugging in or by rebooting.
Custom Profile
Custom Profiles are added as needed by clicking on the ADD button.
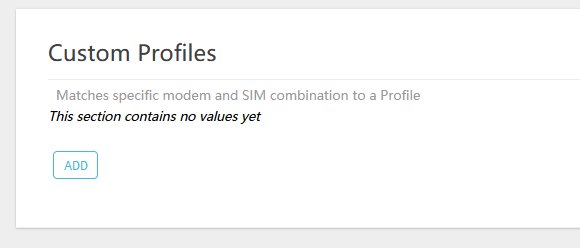
This will add a new Custom Profile to ROOter so you can have unique information for a specific modem/SIM combination.
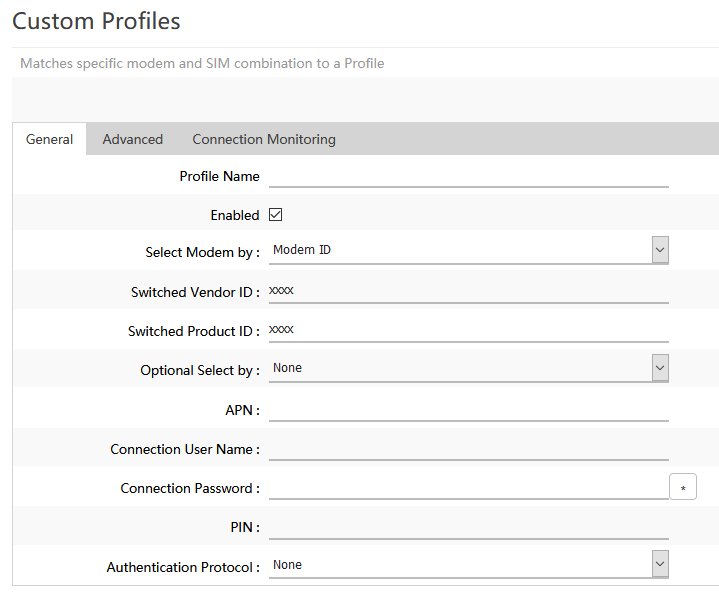
This is similar to the Default Profile except that there is now a section where you can specify exactly which modem or modem/SIM combination will use this profile.
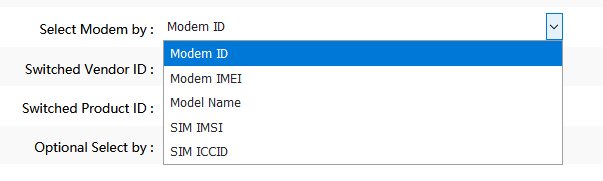
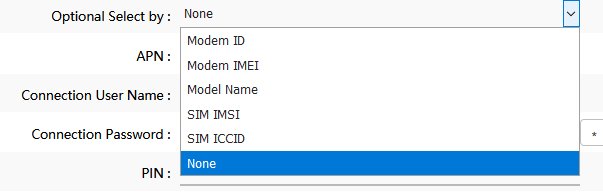
The Custom Profile can be selected by either the modem information (ID, IMEI or name) or by the SIM information (IMSI or ICCID).
The Optional Select allows you to set another selection criteria so that the profile will be used by a very specific modem/SIM combination.
The rest of the fields in a Custom Profile are the same as in the Default profile. Always click Save & Apply after adding or changing a Profile.